Hackney Colour Wheel

Hackney Colour Wheel

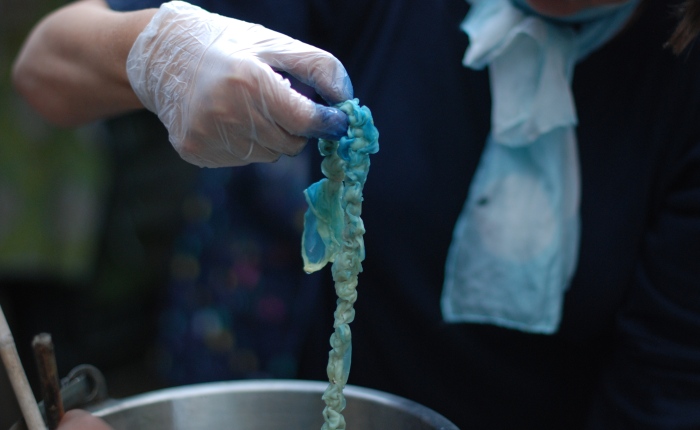
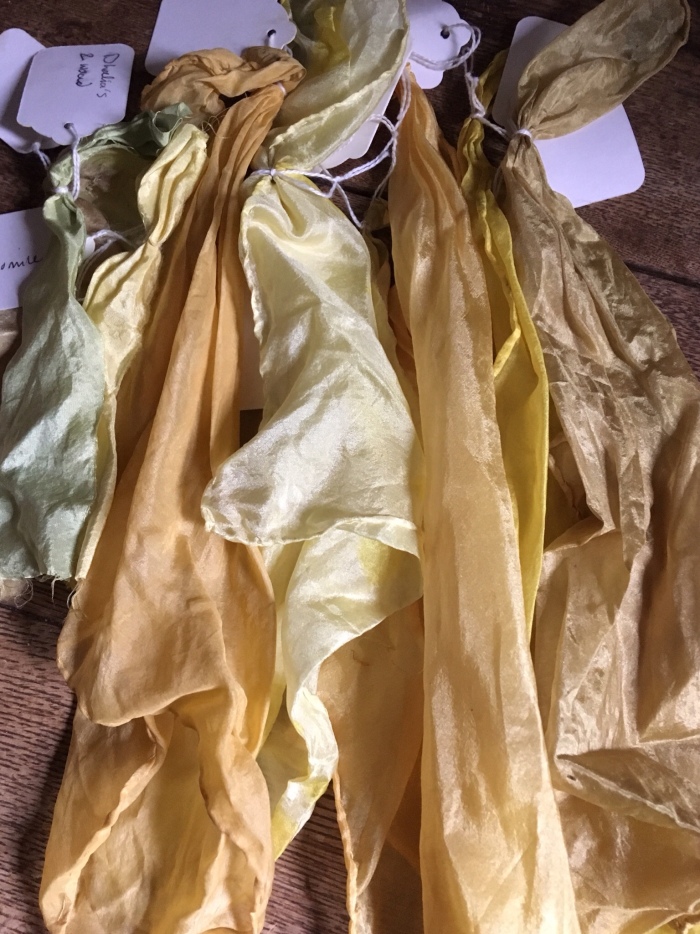
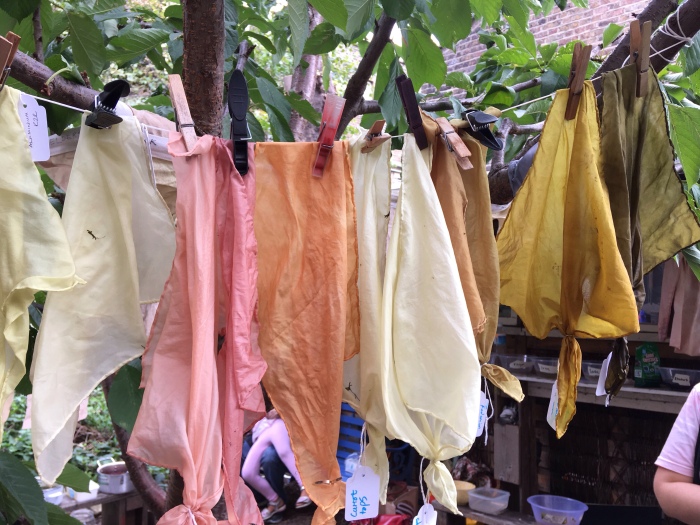
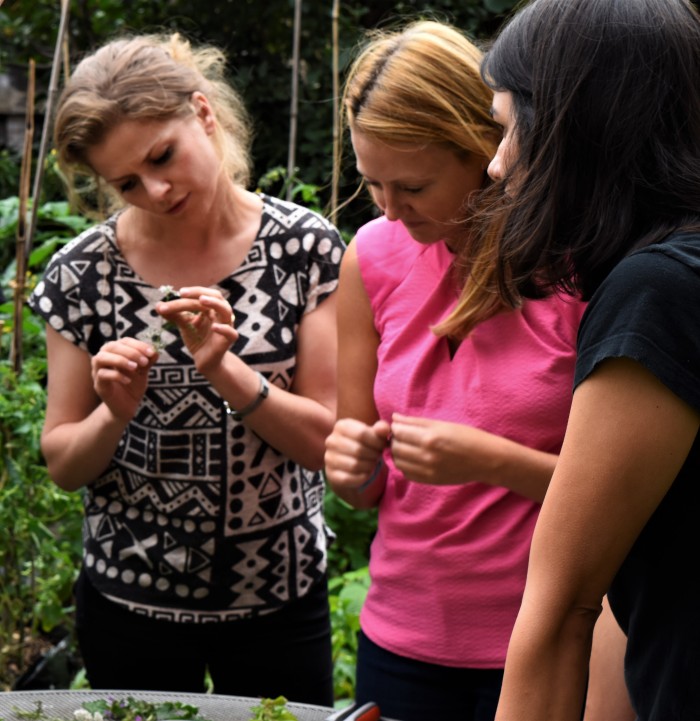
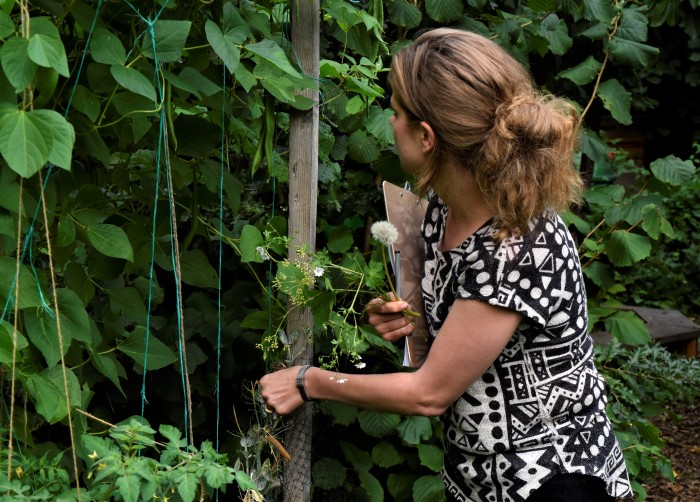
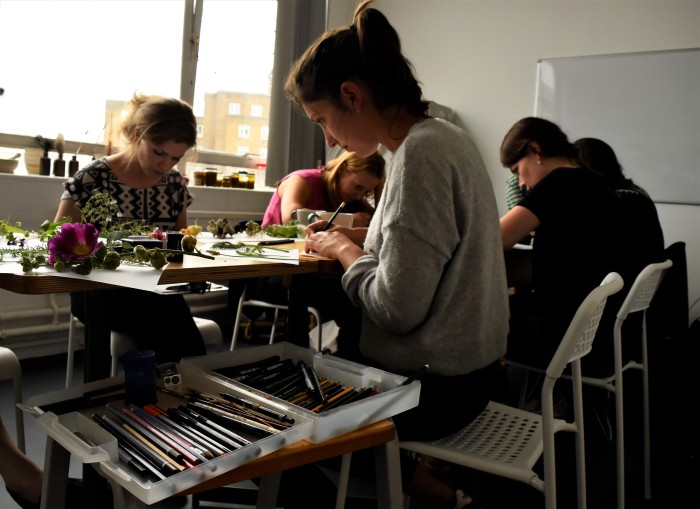
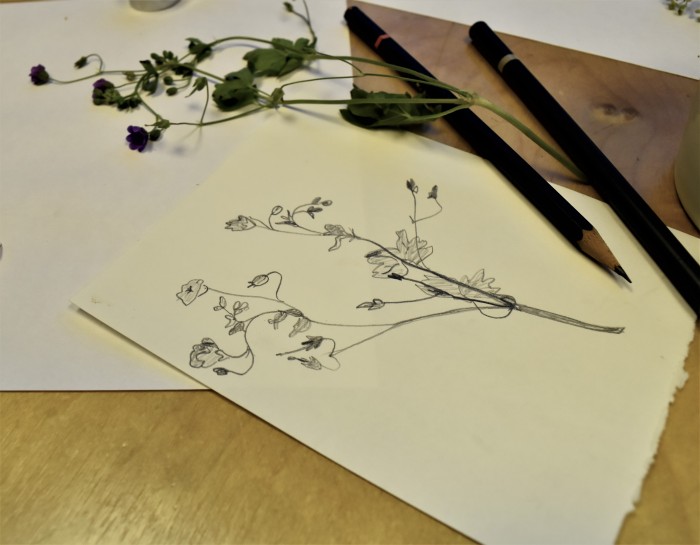
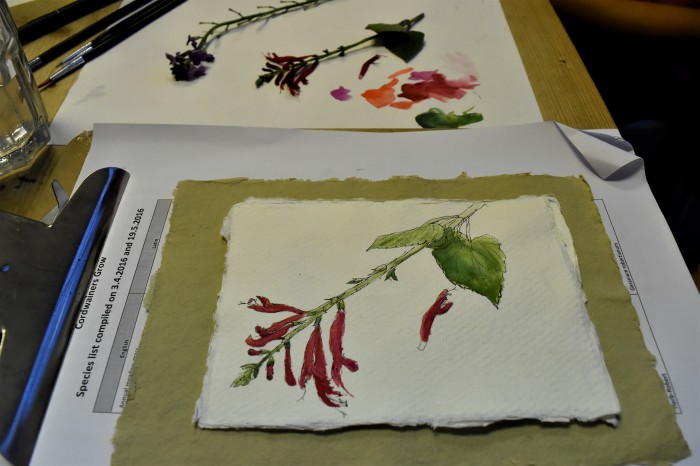
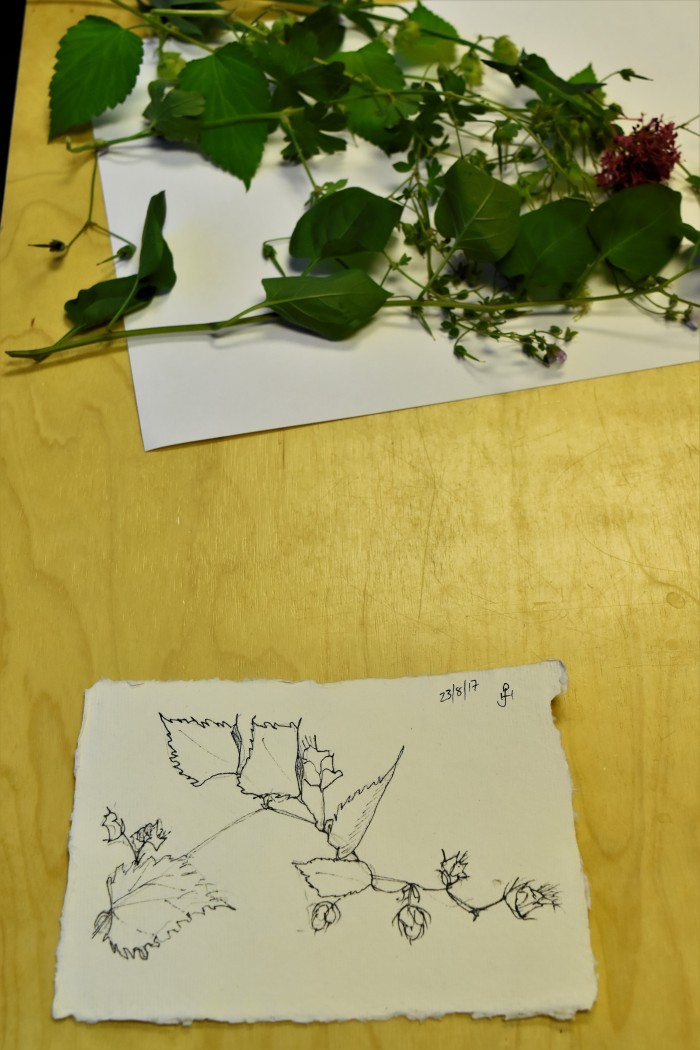
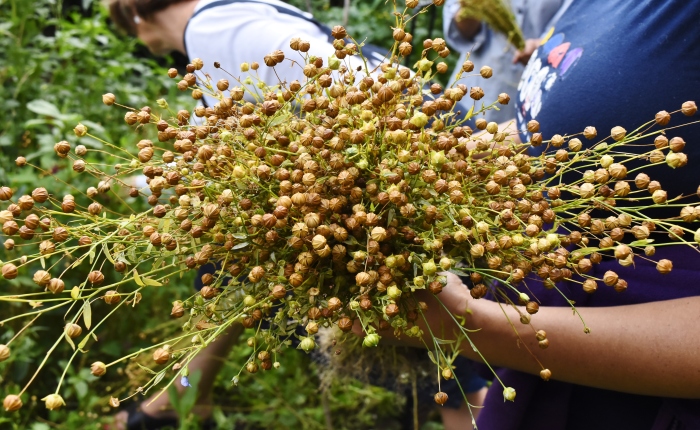
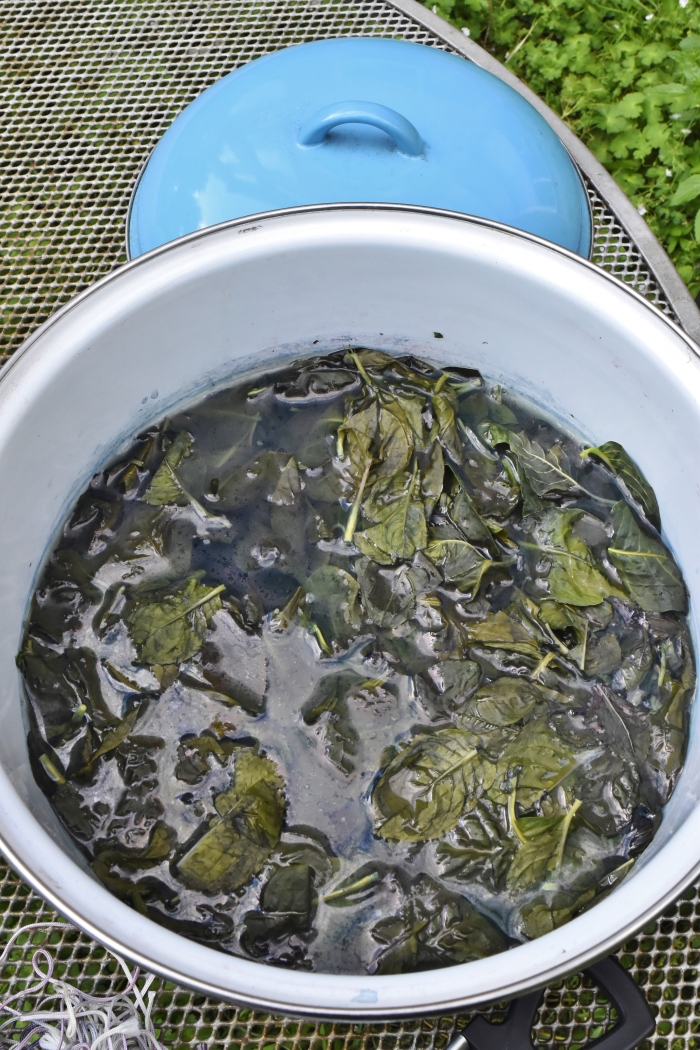
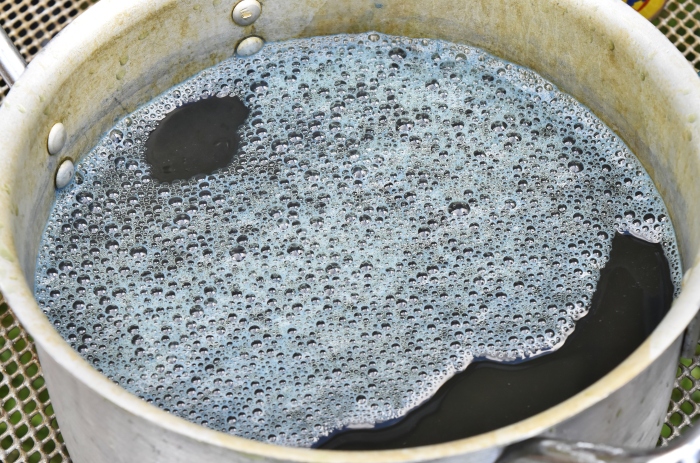
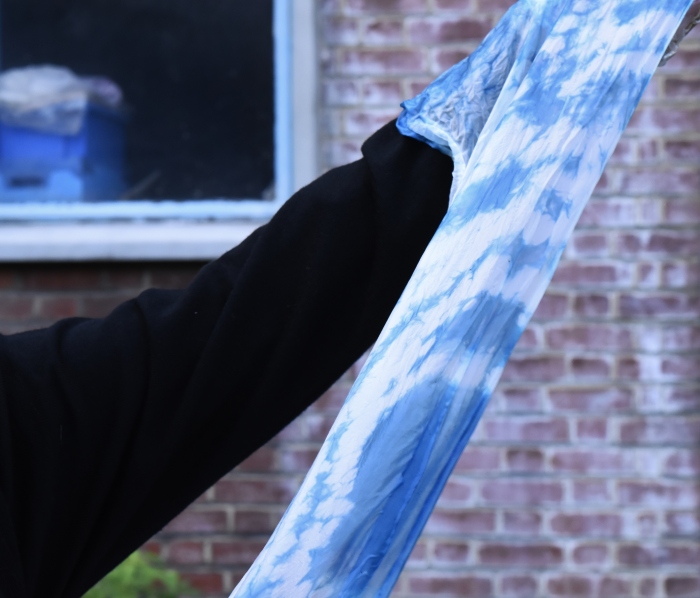
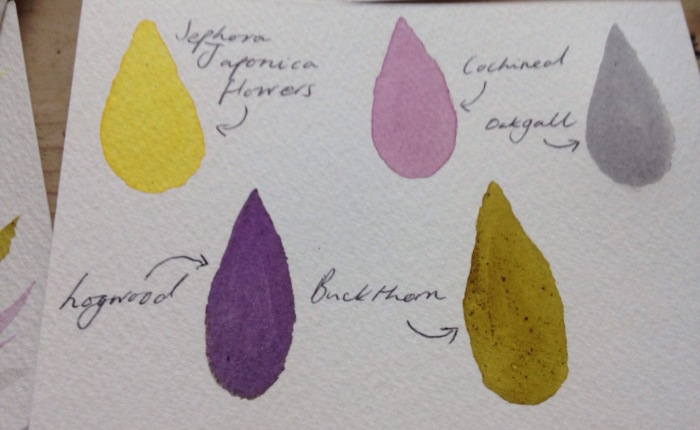
After years of dabbling in natural dyeing, we’ve finally got round to running a comprehensive series of colour workshops using plants from the garden and everyday waste : blue, red, yellow and our black hollyhocks. What spurred us was the closure of the garden. We got notice to leave in April but rather than sob into our sleeves we decided to celebrate what we’ve done over the years and provide a legacy of colour, which we are calling The Hackney Colour Wheel. The plan is to get a spectrum of colour dyed on silk. We haven’t decided how to present it so all suggestions welcome. The workshops are supported by The Royal Society of Chemistry and we hope to show how science and craft can easily connect. Here is some of the dyeing we’ve done so far.

img_2352-2
Colours from our woad and indigo workshop
img_2351-2
Yellows from weld, dahlia, zinnia and marigolds modified with iron, rhubarb, vinegar and washing soda.

img_2406-2
Reds and pinks from madder grown in the garden.

img_2409-2
Madder modified with soda turns it into a water melon red.

img_0962-1
Alum-mordanted silk dyed with tea/rust, carrot tops, onion skins, avocado pips, coffee grounds.
We’ve used a mixture of home-made and corner shop modifiers such as iron from rust, rhubarb leaves, aluminium (from tin foil), distilled vinegar, washing soda.  

Carers’ Time Out

Carers’ Time Out

Now this is what the garden is for: respite from all your responsibilities, except plants.  Oh, and each other.

We’ve started, with City and Hackney Carers, a gardening course for unpaid carers.  The idea is to learn about gardening but, more importantly, to have a break in peaceful, undemanding surroundings.  Caring can be relentless; no matter how much you love the person you care for, it can wear you out and, I think, you sometimes feel you are suffering a version of the same affliction.  I feel, for example, I have had a stroke or some kind of brain storm since my mother had hers.  Anyway, gardening, as anyone knows who has been in a garden, is pretty much the solution to any problem and we want more people to feel that calm pleasure you get from being outside in nature – and it’s so nice to be able to share that peace with local carers.

We’ve been lucky with the weather and on our second session we potted up seedlings and made cuttings.

Preparing for Autumn & Winter Growing

Preparing for Autumn & Winter Growing

Paul Richens, of the renowned Skip Garden led a workshop at Cordwainers looking at what we can grow at this time of year.  He gave us a fascinating talk which got us thinking about rainfall, light levels, temperature and local conditions – and the useful seasonal benchmark of Guy Fawkes night (5th November) as the real end of the growing season in London.  Still time to put in a crop of radishes.  Even then we can still grow microgreens and plants that will survive – or even thrive in – the winter. Brassicas mostly, winter lettuces and ‘oriental’ greens such as mizuna (if you like that mustardy heat).  We then went to the garden and took root and stem cuttings from mint and a scented pelargonium. _DSC0292

Mint
Mint is probably the easiest plant to take root or stem cuttings from.
Pelargonium
You can take pelargonium cuttings easily. Cut the stem with sharp secateurs and place several of these cuttings in a mixture of John Innes 3 and some horticultural grit to help with drainage.

_DSC0336

Pelargonium cutting
Water then make a greenhouse for your cuttings with a plastic bag. These should take root within a couple of weeks.


Draw What You See, Not What You Think You See.

Draw What You See, Not What You Think You See.

We ran another of our weed walks — or plant safaris — last week.  At these events we look at plant families, how plants grow, their habitats and the great variety and resilience of wild plants. After ambling about inspecting and wondering at the above, we then study the plants further by drawing them.

People get scared of drawing but drawing is the least of it.  The looking is the most of it.  And we want to encourage looking (and the wonder which comes from looking) at the intricacies and complexities of even the ‘simplest’ weed/wild flower.  You should probably spend 60% of your time looking – more than drawing.  If you do that, you are more likely to end up drawing what you actually see, rather than what you expect to see.

One tip Neela Basu, our tame artist, gave us for drawing is to examine the way and direction a plant grows and, rather than draw its face (or flower) first, start at the bottom near its roots and work our way up and try to express the way its energy propels it upwards or around.

Our group, with a wealth of knowledge about growing between them, had a head start with the looking  as they were familiar with the habits and patterns of plants.  They produced some fantastic drawings.

Thanks to Capital Growth for arranging it and to Steve Ellis for the photographs.

_DSC0762 (2)_DSC0756 (2)_DSC0805 (2)_DSC0807 (2)_DSC0880 (2)_DSC0869 (2)_DSC0872 (2)_DSC0874 (2)_DSC0877 (2)_DSC0882 (2)_DSC0884 (2)_DSC0887 (2)_DSC0888 (2)_DSC0889 (2)_DSC0890 (2)_DSC0904 (2)_DSC0892 (2)

The Blues

The Blues

Our annual woad and indigo harvest and dye workshop was an evening of gentle delight.  It involved curiosity, experiment and awe at that magical transformation of plant into colour.  We also harvested our flax and ate amazing scones with home-made jams.  Sometimes you can imagine that all is right with the world.

We did two pots – one of woad and one of Japanese indigo, which usually gives a stronger colour but we found the woad was just as potent this year.  Thanks to Steve for taking the photos.

_DSC0307
Woad seeds.
_DSC0274
Woad leaves steeped in hot water for about 40 minutes.
_DSC0299
Japanese indigo steeping.
_DSC0359
The liquid should be sherry-coloured (ph9). Then get oxygen into it until the bubbles turn blue.

_DSC0368

_DSC0380
Add Spectralite and leave till the liquid turns yellowy-green.
_DSC0370
Get the temperature up to 50 degrees C.
_DSC0404
Wait, talk, eat scones.
_DSC0439
Fold, twist and block the fabric.

_DSC0450_DSC0481

_DSC0455
Fold, clip, twist or block the fabric.
_DSC0495
Gently put the fabric in the vat, avoiding getting air into the liquid.
_DSC0506
Leave the fabric for about 10 minutes. It should be fully submerged to avoid oxidisation. Easier said than done.

_DSC0502

_DSC0523
Carefully remove the fabric, avoiding drips. As it hits the air it will turn blue.

_DSC0525_DSC0527_DSC0583

Inky Evening

Inky Evening

After my visit to Michel Garcia’s dye garden in Provence I was inspired to make inks so we ran a small workshop in our office/studio on Well St using ingredients I bought there.  We used cochineal beetles, insects that live on the nopal cactus. Cochineal beetles have been used across Europe to colour textiles and to make pigment for paints and inks.  Today in Mexico and Peru they cultivate the cactus to harvest cochineals to make the colour additive E120. We also ground up oak galls (for brown and added iron for black), buckthorn + alum for green), sophora flowers from China for yellow and logwood for violet.

img_0861
Tester papers for our colours
sophora
Sophora Japonica flowers, a Chinese and Japanese yellow.
Oak galls
Oak galls with iron sulphate make grey or black depending on the dilution.
ink
Our crushing and grinding group.
ink bottles
We decanted our colours into old ink bottles.

Ink tests

‘Weed’ Walk in Weston Walk

‘Weed’ Walk in Weston Walk
L1020591
Willowherb
L1020608
Common mouse-ear and procumbent pearlwort.
L1020588
Buddleia, which seems to survive on air.

It’s long been my ambition to make a record of all the ‘weeds’ growing along Mare St.  I say ‘weeds’ but really I want to rehabilitate them and rename them as wild plants.  Finally we got round to it.  We roped Annie Chipchase, a local urban ecologist, in to lead a group of us to look at, identify and draw what we found.  We started at a short stretch of unprepossessing road round the corner from the garden: Weston Walk.  It’s more of an alley — often strewn with hair from the salon that backs onto it, as well as chicken bones from the chicken shop, dumped rubbish bags and occasionally furniture.  I’d noticed, though, that a leaking pipe had provided an environment for moss to grow so I thought it would be a good place to begin our hunt.  In this short road we found 23 varieties of plants growing in the cracks and up the walls.  We were so absorbed, we hardly had time to explore or record what was growing on Mare St.  We wondered at the resilience of these plants growing in the most hostile environment – and will never look at the cracks in the pavement in the same way again.  L1020567L1020576L1020573

Drawing of pellitory of the wall.
L1020574
Herb Robert
L1020602
Meadow grass
L1020614
Willowherb.

L1020682

Buddleia
Buddleia
L1020634
Speedwell.
Shepherd's Purse
Shepherd’s Purse

Chilly Chilli Shed Masterclass

Chilly Chilli Shed Masterclass

There are several ways of getting warm.  We tried three. The first was to make a small fire.L1020490

The second was to eat cake.

L1020492
Delicious Victoria sponge made by Debbie Mitchener. The bag of apples is just for show.
And the third was to go into the shed and lick a chilli seed or two and learn a lot more. For our second Grow A Gardener workshop this year, we ran a session on basic seed-sowing followed by a master class by the knowledgeable, interesting and resourceful Raul Couselo.  He grows chillies indoors but it is also possible to grow outdoor varieties in London (bring them in in the winter). Chillies are often difficult to germinate. They need a long period of warmth with a soil temperature of at least 18 degrees C.  Raul has designed a fail-safe seed propagator using a bit of folded cardboard in which you put your seeds, wrap it in a plastic bag and put on somewhere warm.   He gets 100% germination (as opposed to my rate which is about 30%).

L1020506
Cutting edge seed propagator made from cardboard and staples. Place the seeds in the recesses , dampen and enclose in a platic bag. moisten the cardboard every couple of days.
Once the seeds have germinated, transplant them to pots and place them on damp cardboard in a mini greenhouse made from a croissant box placed on an electric blanket.

L1020509L1020505L1020501

L1020503
Raul runs the beautiful Beecholme Community Garden off the Lea Bridge Road
L1020498L1020497L1020511
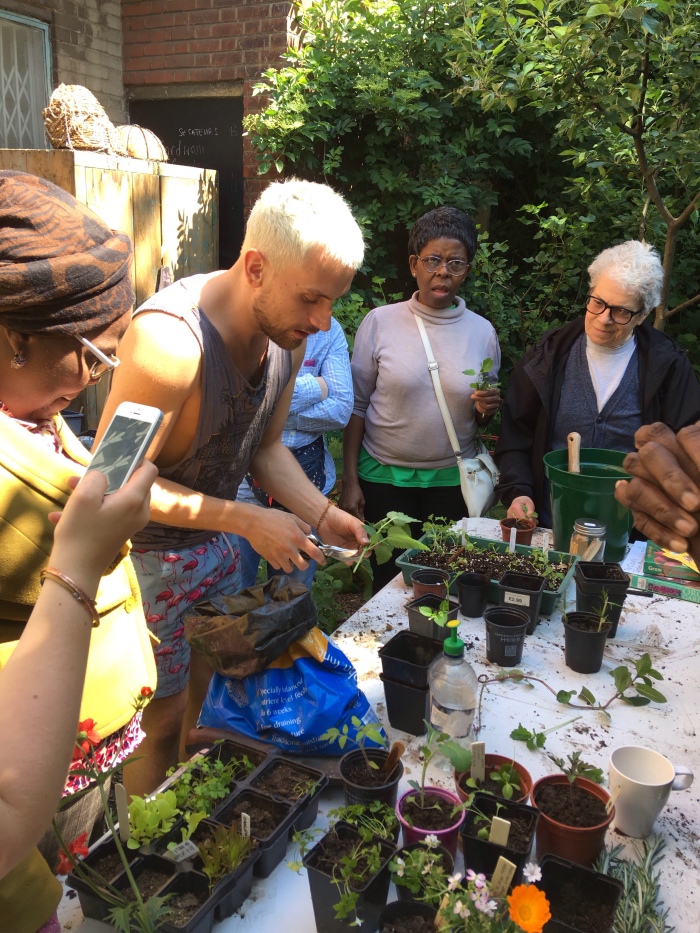
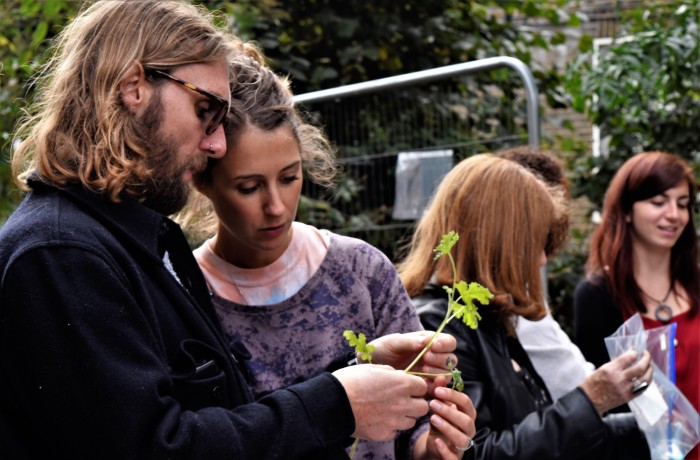
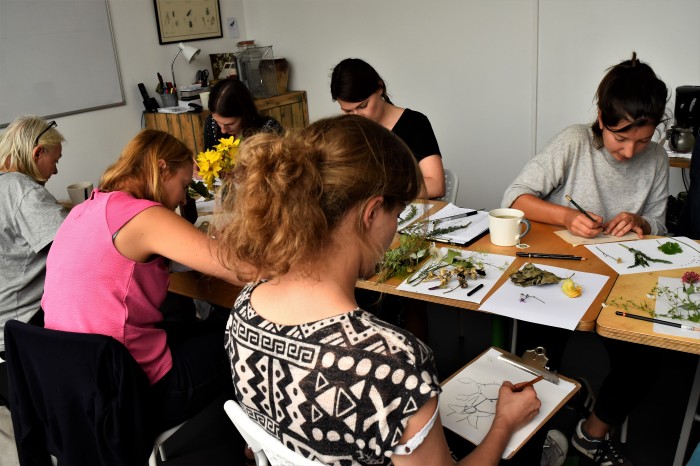
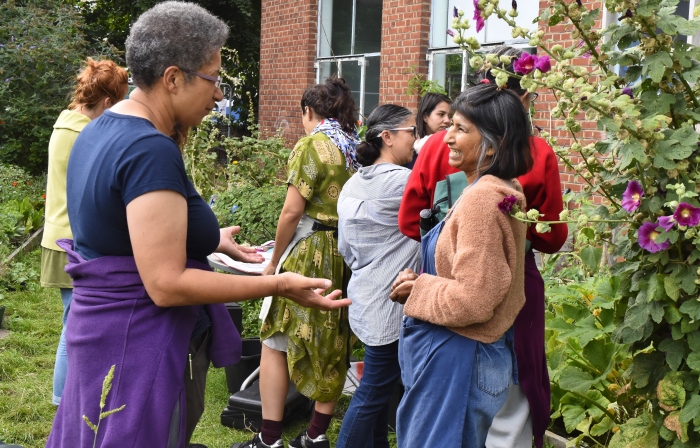
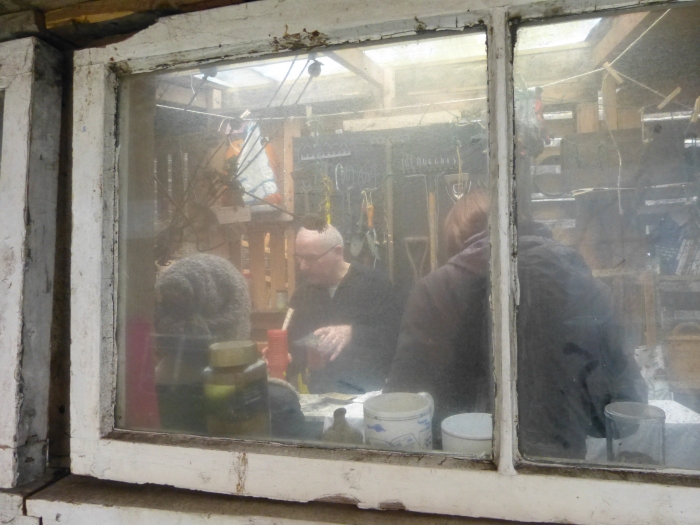
Raul gave us some brilliant tips.

  • Once they have grown and produced flowers, to get more even, bigger and better crops of fruits, hand pollinate with a paintbrush. It’s much easier than it sounds.  Just move pollen from the stamen to the stigma. Use different brushes for different plants to avoid cross-pollination.
  • Soak cardboard beneath pots to keep plants moist.
  • Add good quality soil to water so that you are watering your plants with nutrients. Comfrey is too strong!
  • Prune chillies. They are perennials and benefit from the stress.
  • Save seeds from shop bought chillies as well as your own.They may not come true but you can experiment. You must! 

The Woad Factor

The Woad Factor

If you’ve never witnessed the magic of a woad (or indigo) vat, seen the alchemy of one thing turning into another, book yourself a place on a workshop now.  Forget the wow factor, the woad factor will bowl you over. The nearest thing I could think of in twenty-first century terms is the awe we felt the first time you see an iphone swipe. That wonder soon wears off. Never with woad.

We set up an informal workshop at Cordwainers Garden to experiment with our woad harvest and went through the exacting (but not difficult) process of turning a handful of leaves into a permanent dye. It took about three hours in all. We had a great turnout of people from all corners of the world.  People from Uruguay, Argentina, Spain, Leicester, and Wembley came to have a go and help us with the magic.

Woad leaves collected then torn up.
We collected and weighed our woad leaves then tore them up. 
The process we followed.
Boiling water poured over the leaves.
We poured boiling water from our storm kettle (no electricity) over the leaves.
The leaves steep for about an hour.
We squeezed (and kept) the leaves to use again.
We then aerated the water until the bubbles turned blue.
We then added soda ash and aerated the water until the bubbles turned blue.
We then heated it to 50 degrees and left for about 20 minutes.
Folding and twisting our material.
Preparing the material to be dyed.
After adding spectralite to remove the oxygen we carefully added our dyestuff.
After adding spectralite to remove the oxygen we carefully added our dyestuff.  The liquid is greeny yellow and the material doesn’t seem to have taken on any colour when you look at it in the water.
The magic happens as the material hits the air.
It takes on more colour.

052

It zings
It zings

060063

.